
Our DIY modern white and brass bathroom remodel

I am by no means an interior designer or a contractor but when we bought our house the one thing that I swore I wanted updated immediately was the main bathroom. Well, of course a lot of more necessary projects came around before then and as we hit the two year anniversary of living here, I decided just to empty the bathroom one day while Kyle was at work. Less talking, more doing.
We live in a victorian home built in 1900. There is no master ensuite bathroom - this is our main full bath for the house (but there is a half bath downstairs off of the laundry room). Our home was a flip - we bought it after a company repaired 10 years of abandonment issues but the way they redid the bathroom infuriated me every time I went in it.


This is what the bathroom looked like before the flippers in 2015...

Admittedly this is much better than before but still not ideal. The sink and light are not aligned, the window frame has been cut out strangely and unprofessionally and the toilet was old and needed to be replaced.
They cut out the windowsill in order to fit a second sink but the sinks had zero counter space - barely enough to hold a soap bottle. So cool, we had two sinks? But it wasn't a space that functioned well at all. When we moved in, we pulled out the sink in front of the window and temporarily replaced it with a small dresser for additional storage.
The bathroom is small. It's not hitting your elbows on the wall sort of small but I definitely wanted to lighten up the space and make it feel bigger than it is. We used all builder grade materials and did most of the work ourselves. For the complicated pieces like hooking up the sink plumbing, my Pappaw came over to help and he also guided us with making decisions about the extra cabinet. More on that to come!
We started by emptying the bathroom completely and then painting! I am a lover of pure white so the paint is just simply cheap-but-affective Glidden Premium Paint and Primer in Pure White (just the totally untinted straight up white). I used flat because we have traditional horsehair plaster walls with lots of dents, dings, marks, etc. and a gloss tends to highlight those whereas the flat will hide them better.


After painting was mostly completed we....
Removed the remaining sink and toilet
Cleaned up after a big leak
Painted behind where the toilet and sink were
Pulled off the baseboards
Ripped up the flooring
Rolled out a latex floor primer onto the sub floor
Laid the new flooring (this took the longest... it was a very long night)


Having experienced help came to be really important because of where our pipes come out of the floor. I wanted to maximize counter space in the bathroom because before we had none. So that was a main goal for me. We couldn't place the vanity where it needed to go because of the configuration of drawers inside the vanity. Which left us with one option... put the vanity in front of the window and find a way to hide those ugly pipes. Thank goodness for Pappaw because we would have never figured out how to make our visions actually come to life.

He ended up building us a custom shelf cabinet with a false back to hide the pipes, give us the extra storage space we wanted and match the existing vanity.

After that we:
Installed new baseboards and trim
Caulked and painted the baseboards
Caulked between the floor tiles
Installed metal floor trim where the tile meets the hardwood and inside the closet
Installed the new light (Pappaw did this one too)
Hung the mirror inside the window frame
We had a lot of questions from friends like, "how did you figure out how to remove the old toilet and install a new one?!" or "how did you know what to do to lay the floor?". Between Kyle watching videos and reading forums and me just reading the plain ole directions, it wasn't that complicated! Now, we have the appropriate tools needed (like a saw to cut baseboards) and Kyle did most of the things that involved saws and cutting but I handled all of the things that took houuuuuurs like endless painting, caulking and more painting.
It is finally finished and I am so excited to share our beautiful, bright new space with all of you!

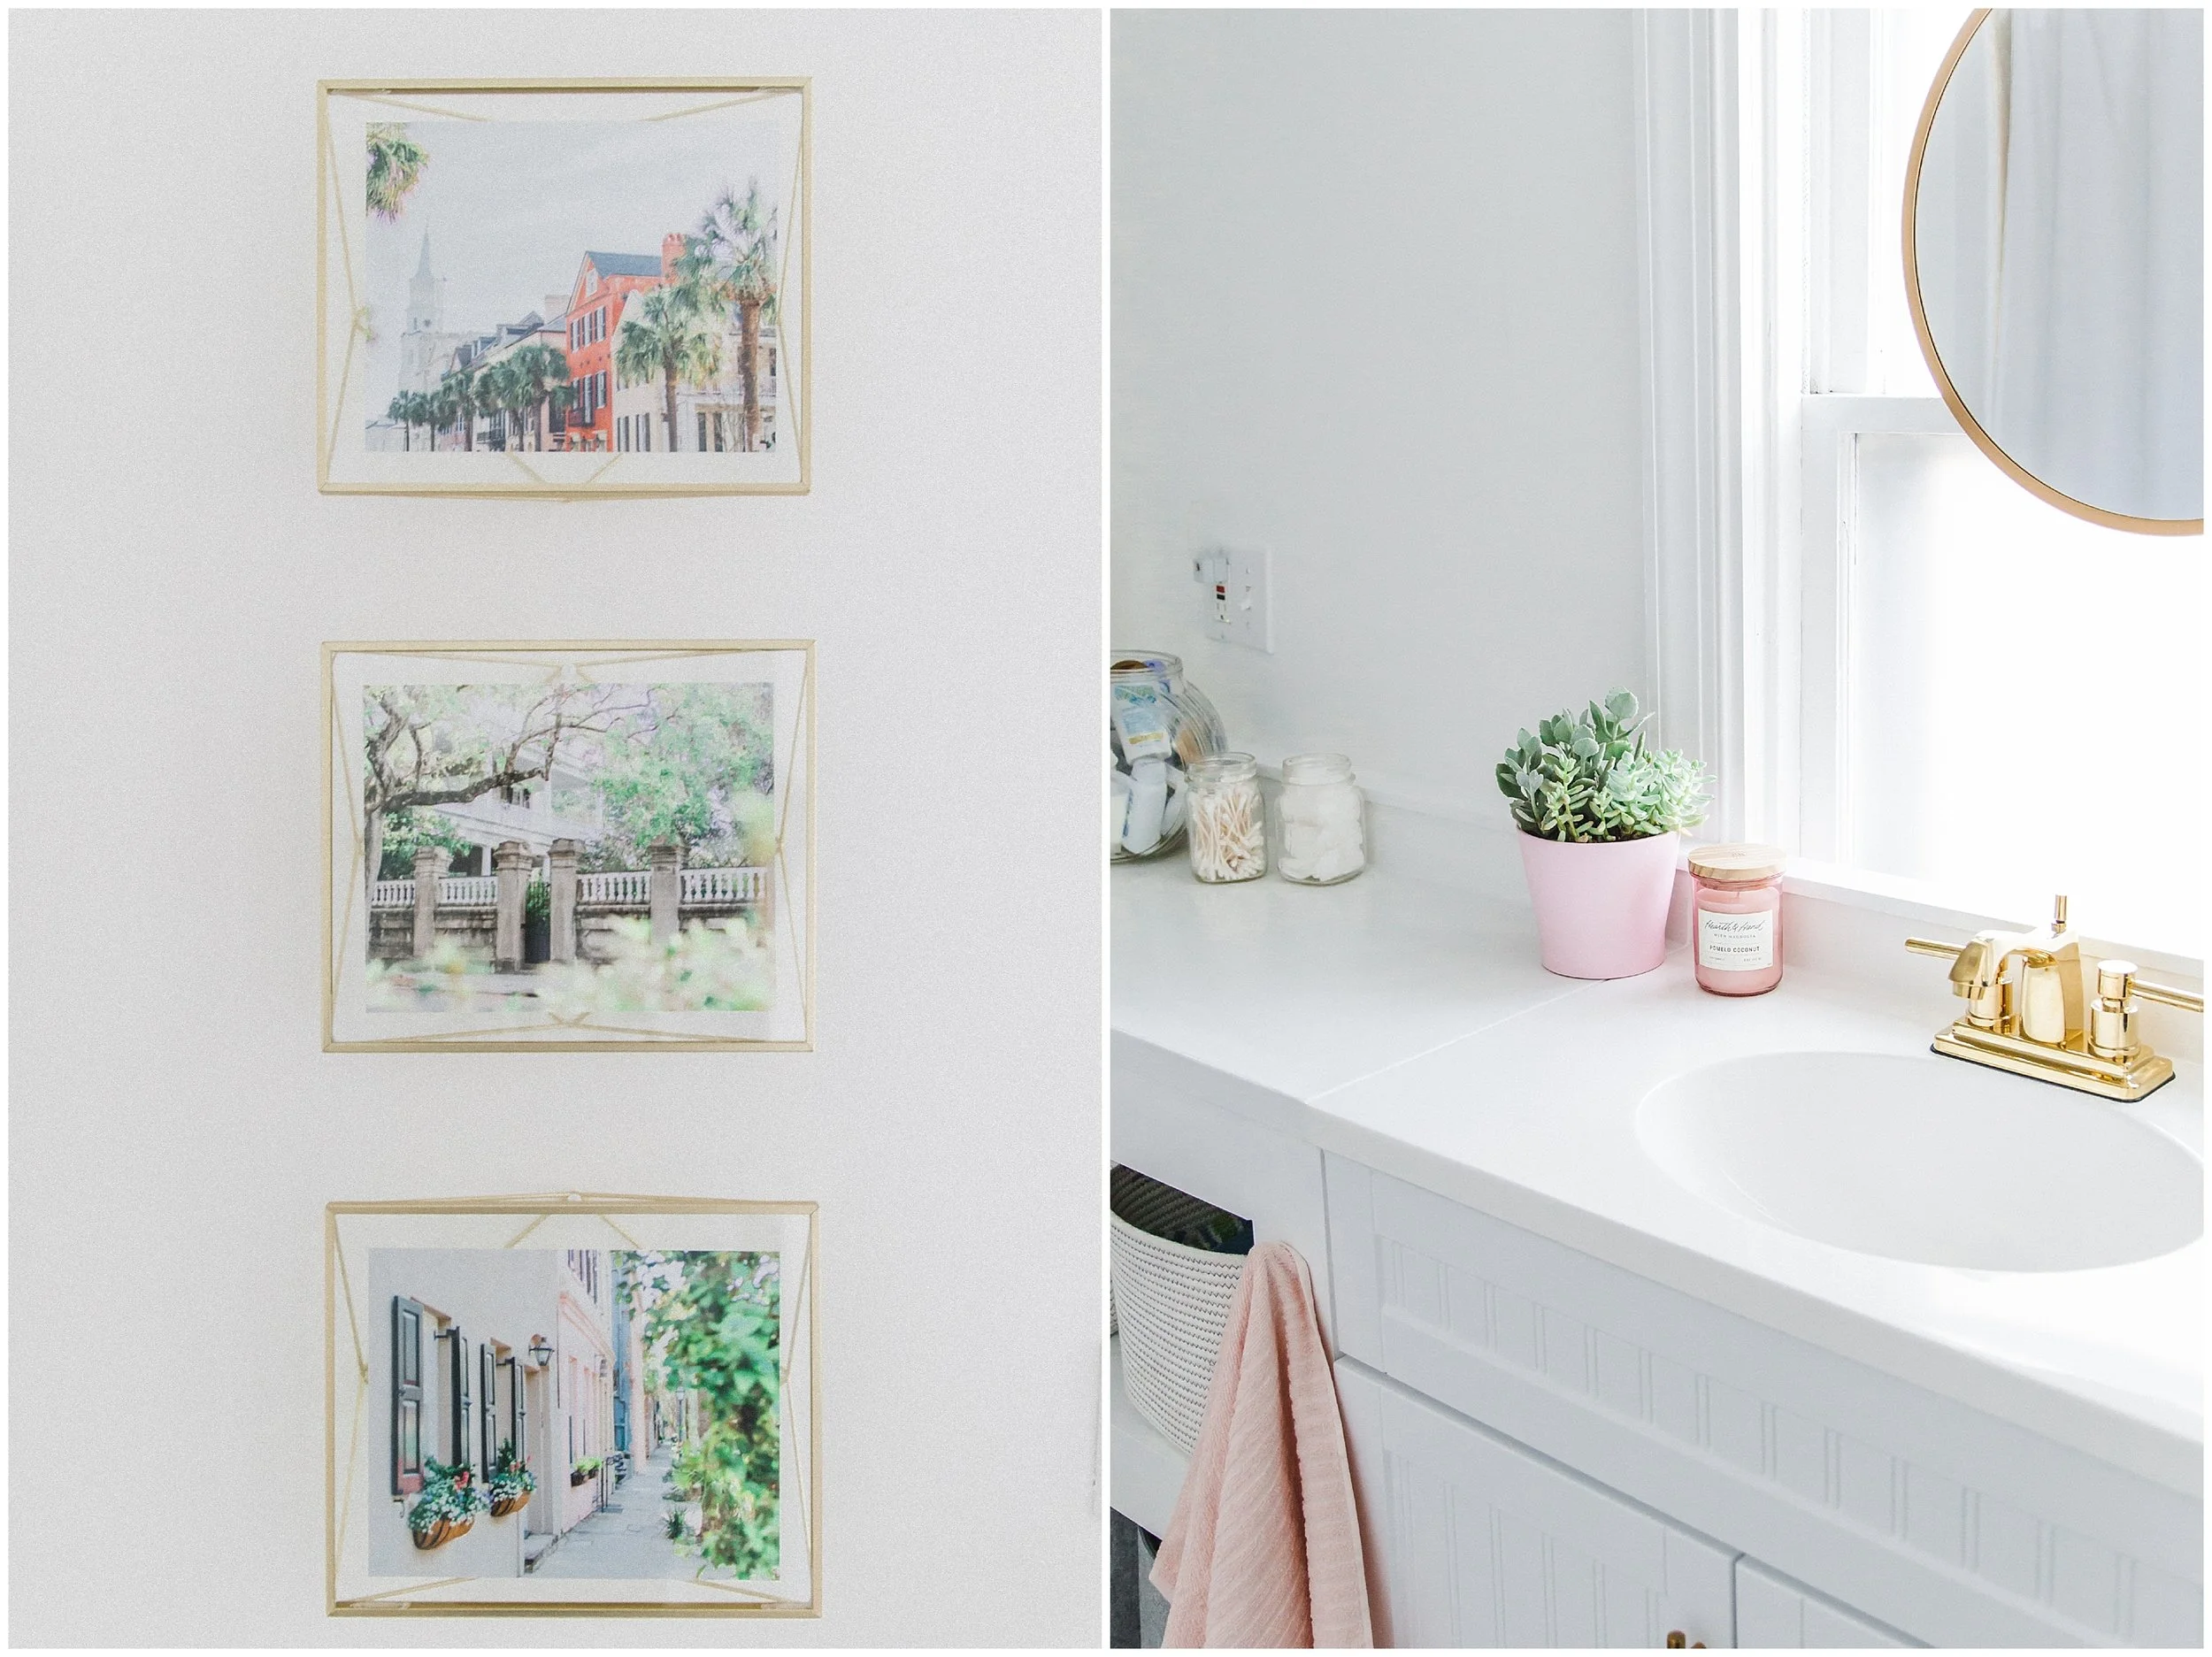


I know this isn't wedding photography but I hope you've enjoyed a little peek into our home and gathered some inspiration for your next DIY project!